Venus flytraps are unique carnivorous plants that require specific care to thrive. Repotting your Venus flytrap is an essential part of maintaining its overall health and longevity. In this section, we will provide a detailed guide on how to repot a Venus flytrap properly.
Key Takeaways:
- To ensure optimal growth, repotting a Venus flytrap every year is recommended.
- Look for signs that indicate it’s time for repotting, including root overcrowding, plant toppling, and general lack of growth.
- Preparation is essential, including gathering necessary tools, selecting the right pot, and preparing the right soil mix for the repotting process.
- Follow the step-by-step guide to repot your Venus flytrap successfully.
- After repotting, proper aftercare, including watering, sunlight exposure, and potential adjustments, must be taken to ensure the plant’s healthy growth.
When Should You Repot a Venus Flytrap?
Repotting a Venus flytrap is an essential step in maintaining its health and promoting optimal growth. However, knowing when to repot your plant is just as important as the process itself.
The signs that indicate it’s time for repotting include overcrowding of the roots, soil depletion, and stunted growth.
If you notice your Venus flytrap is struggling to grow, it may be time to repot. Additionally, it’s best to repot during the plant’s growth period, which occurs in the spring and summer months.
Here are some useful tips to determine when to repot your Venus flytrap:
- Check if the plant’s roots are starting to become visible above the soil surface.
- Inspect if the soil is becoming depleted or has lost its nutrients.
- Observe if the plant is struggling to grow or if the traps appear smaller than usual.
By paying attention to these signs and timing your repotting correctly, you can help your Venus flytrap thrive for years to come.
Preparing for Repotting a Venus Flytrap
Proper preparation is key when repotting a Venus flytrap. Before beginning the actual repotting process, you’ll need to gather the necessary tools and pick out the right pot and soil mix. Follow this Venus flytrap transplanting guide for successful repotting.
Gathering Necessary Tools
Before repotting your Venus flytrap, you’ll need to gather the following tools:
- Gloves
- Tweezers
- Scissors
- A new, appropriately sized pot
- Peat moss
- Perlite or sand
- Distilled or rainwater
Ensure that your gloves are clean and free of any chemicals that could harm the plant.
Selecting the Right Pot
When selecting a new pot for your Venus flytrap, it’s important to choose one that’s the right size and material.
The pot should be no more than twice the size of the plant’s current pot. A too-large pot could lead to overwatering and root rot. Terra cotta pots are the best option because they provide good drainage and allow the soil to dry out between watering.
Preparing the Soil Mix
The right soil mix is crucial for the health of your Venus flytrap. Mix peat moss and either perlite or sand in a 3:1 ratio to ensure good drainage and aeration.
For better results, rinse the peat moss before using it to remove any impurities that could harm the plant. Additionally, it’s important to use distilled or rainwater instead of tap water, as tap water contains minerals that are harmful to Venus flytraps.
Repotting a Venus Flytrap Step-by-Step
Now that you’ve determined that your Venus flytrap needs to be repotted and have gathered the necessary tools, it’s time to begin the repotting process. Follow these step-by-step instructions to repot your Venus flytrap:
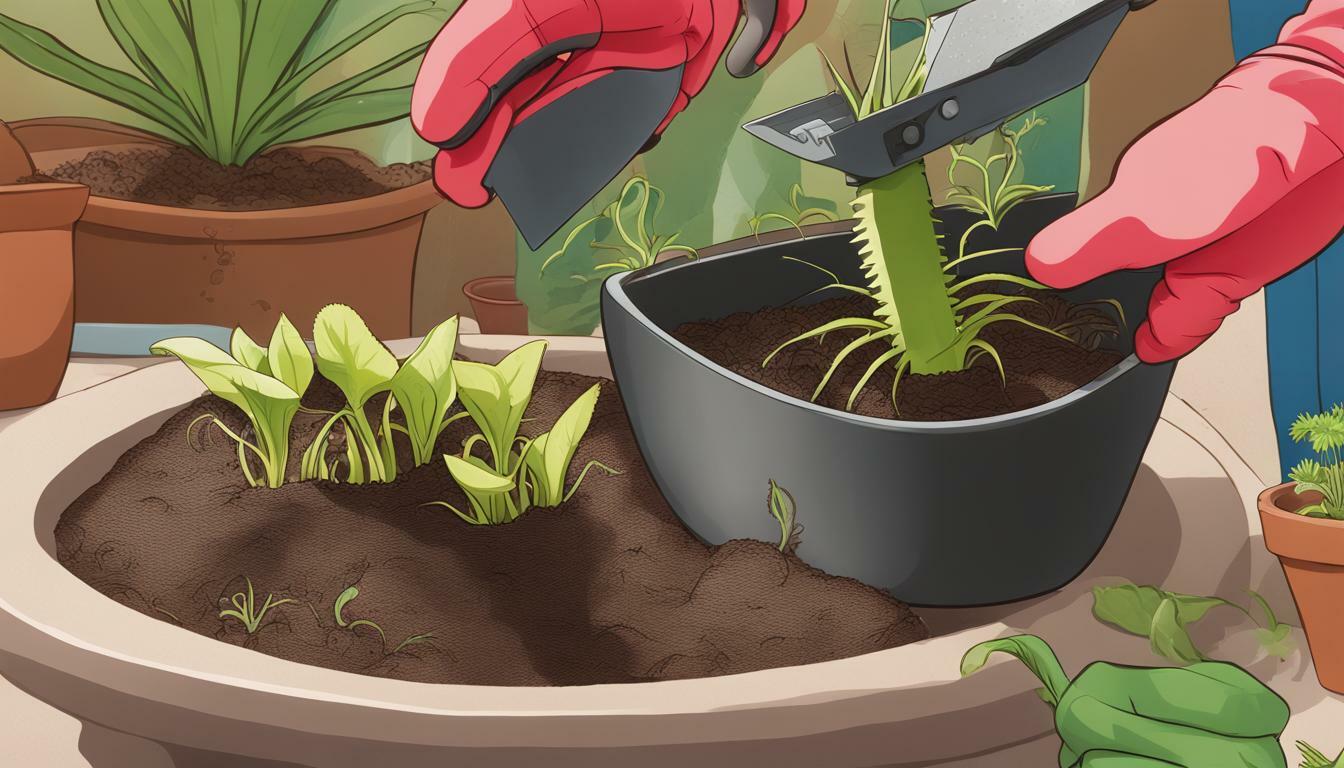
- Carefully remove the Venus flytrap from its current pot. Begin by loosening the soil around the plant, being careful not to damage the roots or traps.
- Gently shake off any excess soil from the roots to reveal the root ball. If any dead or damaged roots are visible, carefully trim them away with scissors or pruning shears.
- Select a new pot that is at least two inches wider and deeper than the current pot and has drainage holes. Fill the bottom of the pot with a layer of peat moss to allow for proper drainage and help maintain moisture.
- Prepare the soil mix for the new pot. Venus flytraps require a specific type of soil mix, which is a mixture of equal parts sphagnum moss and sand. Mix the two components thoroughly in a bowl or bucket.
- Fill the new pot with the soil mix, leaving approximately one inch of space between the top of the soil and the rim of the pot.
- Place the root ball of the Venus flytrap in the center of the new pot and fill in the remaining space with the soil mix. Lightly press down the soil around the roots to ensure the plant is secure in its new pot.
- Water the newly repotted Venus flytrap thoroughly to help settle the soil. Place the pot in a sunny location, such as a south-facing window or outdoors in direct sunlight.
- Monitor the Venus flytrap closely for the first few weeks after repotting, ensuring the soil remains moist but not waterlogged. Avoid feeding the plant for several weeks to allow it to adjust to its new environment.
By following these step-by-step instructions, you can successfully repot your Venus flytrap and ensure its healthy growth.
Aftercare for Repotted Venus Flytrap
Once you have successfully repotted your Venus flytrap, it’s essential to provide it with proper aftercare. Follow these tips to ensure the plant’s continued health:
- Watering: Venus flytraps prefer moist soil, so make sure to keep the soil slightly damp. However, avoid overwatering, as this can lead to root rot. Water the plant when the top inch of soil feels dry.
- Sunlight: Venus flytraps require plenty of sunlight to grow properly. Place the plant in a sunny location, such as a south-facing window. If the plant receives less than four hours of direct sunlight per day, consider providing it with additional artificial light.
- Avoid Feeding: While it may be tempting to feed your Venus flytrap immediately after repotting, it’s essential to avoid doing so for at least four weeks. This allows the plant to recover and adjust to its new environment.
- Check Soil: After repotting, monitor the plant for any signs of stress or improper growth. Check the soil for any signs of mold or fungus growth, which can indicate overwatering or poor soil quality.
- Adjustments: As your Venus flytrap grows, it may require adjustments such as repotting or trimming. Monitor the plant regularly for any signs of stress and adjust as necessary.
By following these aftercare tips, you can ensure a healthy and thriving Venus flytrap.
Conclusion
Congratulations! You have successfully learned how to repot a Venus flytrap. Remember to assess the plant’s condition and only repot when necessary. When repotting, prepare your tools, select the right pot, and use the proper soil mix. Follow the step-by-step guide to ensure a successful repotting process.
After repotting, provide proper care to your Venus flytrap, including adequate sunlight and watering. If necessary, make adjustments to its environment to ensure optimal growth and health. By following these steps, you can enjoy a thriving Venus flytrap for many years to come.
Can Venus Flytraps Be Repotted from Seeds?
When it comes to growing Venus flytraps from seeds, a helpful guide can provide essential tips for success. Repotting Venus flytraps from seeds requires careful handling and delicate attention. Following a reliable growing venus flytraps from seeds guide can ensure a healthy and thriving plant.
FAQ
Q: How often should I repot my Venus flytrap?
A: Venus flytraps typically need to be repotted every 1-2 years, or when you see signs of overcrowding or root rot.
Q: What type of soil should I use when repotting my Venus flytrap?
A: Venus flytraps thrive in a mixture of sphagnum moss and perlite. This combination provides the necessary nutrients and drainage for optimal growth.
Q: Can I use regular potting soil for my Venus flytrap?
A: It’s best to avoid using regular potting soil as it is too nutrient-rich and retains too much moisture, which can lead to root rot. Stick to a well-draining mixture of sphagnum moss and perlite.
Q: How do I know if my Venus flytrap needs to be repotted?
A: Signs that your Venus flytrap needs repotting include overcrowded roots, yellowing or wilting leaves, and a lack of growth. If you notice these signs, it’s likely time to repot.
Q: Can I repot my Venus flytrap at any time of the year?
A: Ideally, you should repot your Venus flytrap during its active growing season, which is typically in spring or early summer. This allows the plant to recover faster and adapt to its new environment.
Q: Should I trim any roots or leaves when repotting my Venus flytrap?
A: While it’s not necessary to trim healthy roots or leaves, you can remove any damaged or dead ones during the repotting process. This promotes healthier growth and reduces the risk of disease.


